Unique LMTC Work Space Divider
For our first unit in Big IDEA, we were tasked with designing and constructing a prototype to help solve a problem. The LMTC reached out to the tech ed department and asked if we could design a divider and bracket system for a new work space that they were working on. It seemed like the perfect project for the Big IDEA classes.
Pre-Search
|
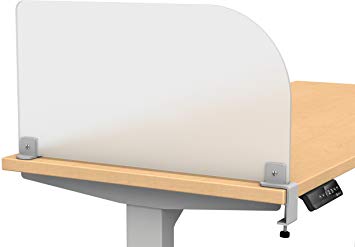
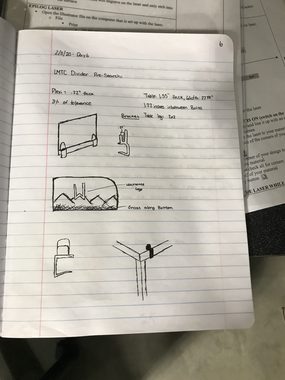
It's like research, but with more of a brainstorm and design focus. The LMTC sent us a link for a divider, however it was very expensive and they needed more than one. The picture is the first on the right. But, because we have world class technology at our fingertips, we could replicate it or even improve it. Next, I did a google search for a desk divider and hit the drawing board. On the right is a picture of my designer notebook, where I completed my pre-search
|
|
|
Design
Inventor
I began by creating a new part in Inventor. I wanted to design something that would have a secure fit on the table, so the first idea I had was a screw that would attach to the table. However, I struggled to figure out how to successfully thread a hole and create a screw, and due to time, I had to think of another idea. I ended up designing a bracket that has a clamping system to secure it to the table.
|
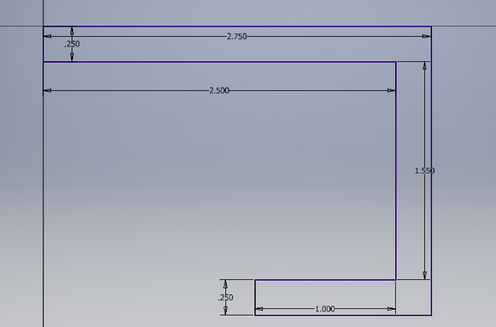
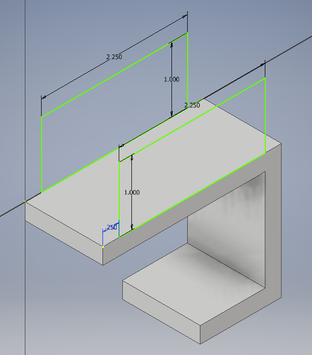
I began by creating a 2-D sketch on the XY plane. I decided that I wanted to have a quarter inch thickness so that it was durable, but not too bulky. I drew out a rough shape then used the dimension tool to finalize the original shape. To determine the correct angle, I drew out a triangle off of the bottom and then made quarter inch thick walls connecting back to the side of the bracket. I then added 3% to each of the dimensions for a good fit |
|
|
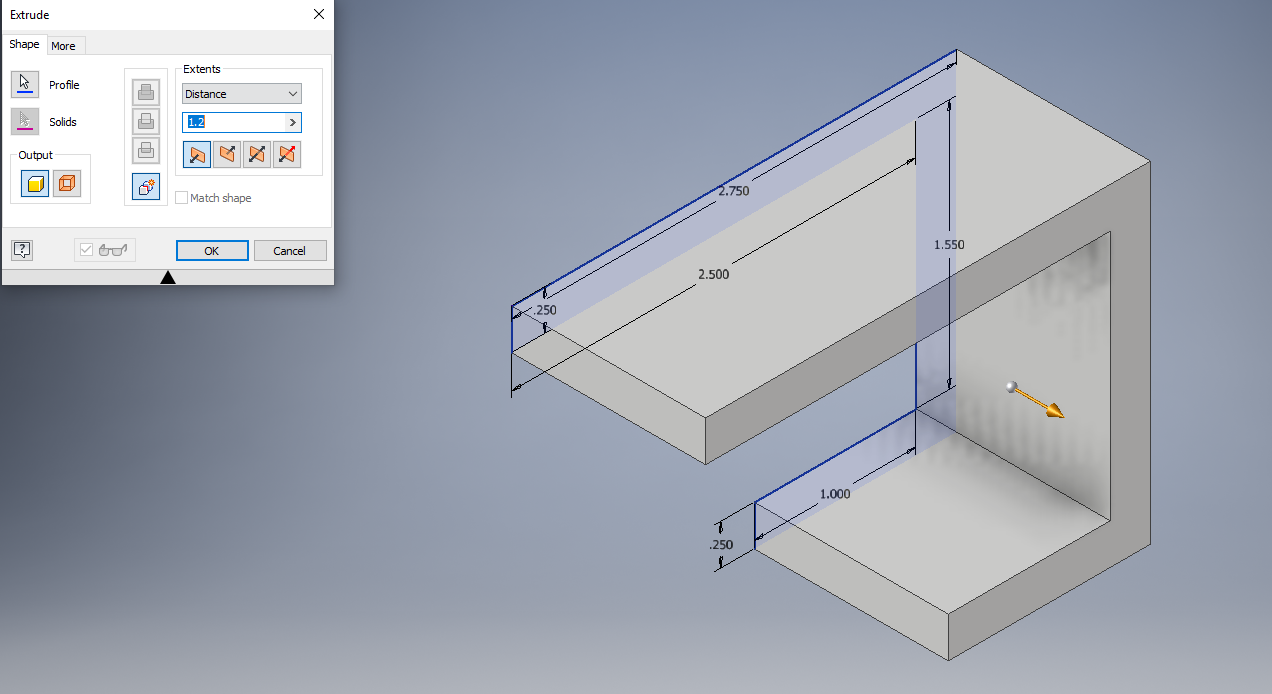
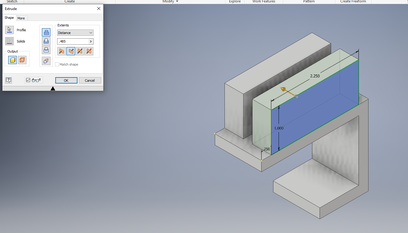
The next step was to extrude the base. I made the extrusion 1.22 Inches thick because then it could fit in between the bolts on the table with a little wiggle room. |
|
Next, I began creating the part that would actually hold onto the piece of plexi glass. I knew that the plexi glass was 0.22" thick, and I allowed for 3% error, so that calculation came out to be about .23". I then subtracted .23" from the overall width of 1.20" and got 0.98". I then divided that by two and then extruded inwards at that dimension to get the correct size slot for it. I then used the fillet tool to smooth out the edges and then I saved it so that I could finalize it in Makerbot. |
|
Makerbot Software
|
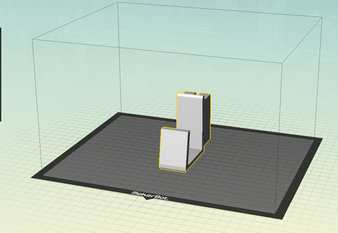
The first thing that I did when I got my project uploaded into Makerbot was orient it so that it used the least amount of supports as possible. I then pressed the "lay flat" command, which makes sure that it is flat against the print bed. |
|
|
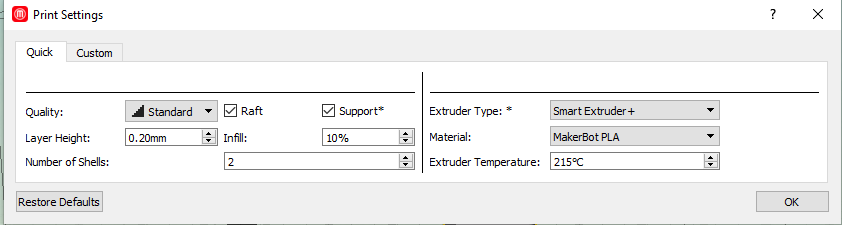
Next, I edited the print settings. I made sure that the extruder temperature was set to 215°C and that "Smart Extruder +" was selected. Then I checked the box for the raft, and because my project had a part that was not able to be printed normally, I checked supports. |
|
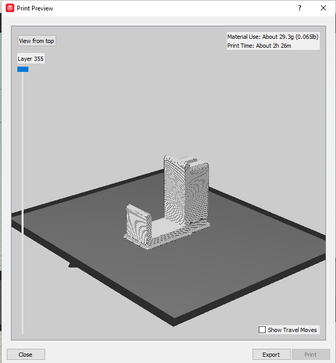
Next, I verified that the print would print how it was supposed to by checking the print preview. |
|
3D Printing
|
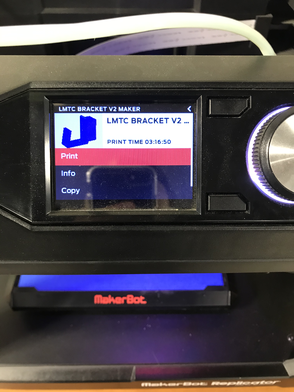
I then headed to a printer. I made sure that I had enough filament, and then put my USB in the port. I then used the nob to scroll to my file. I selected my file and hit print. |
|
I waited for the printer to create the raft before leaving the printer. |
|

|
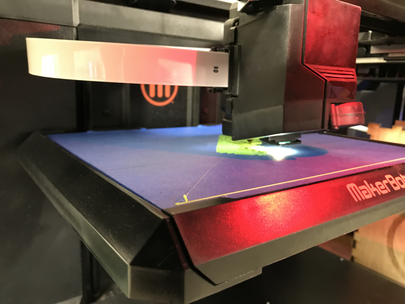
Here is a picture of the bracket being printed. |
Final Bracket
|
|
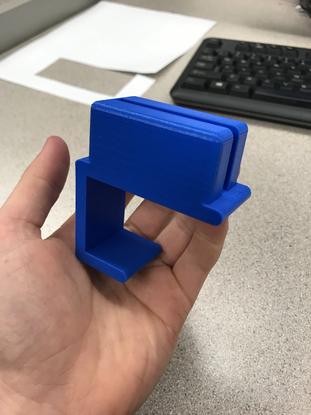
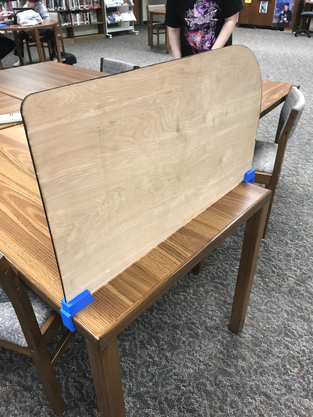
After printing a second bracket, I headed to the LMTC to test it out. As you can see, they worked!
Divider Art (Illustrator)
We were already given a file with the correct shape and size of the divider we were tasked to design. Our job was to draw up a cosmetically pleasing design, while keeping most of the glass frosty.

|
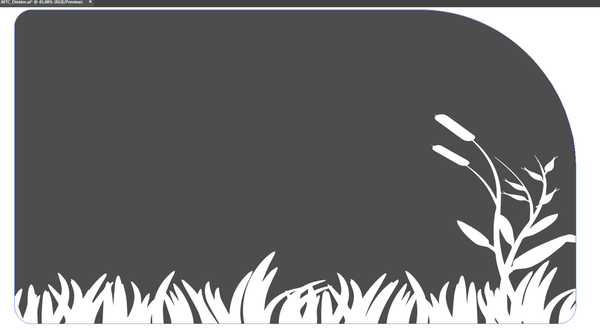
While we were in the library, they told us that they wanted to have the design flow with the nature aspect of the library, or have an inspirational quote, etc. I thought that having grass along the bottom would allow for the nature aspect that they were looking for, while keeping most of the divider frosted. In the end, I selected the drawing at the right. |
|
Next, I opened the file on inventor and pasted the image. I made sure to keep the outline of them blue because then it would be engrave it instead of cut it out. Then I aligned it along the bottom, and changed the background to grey so that the laser knows to engrave the entire background and then I changed the color of the grass to white so that it is left clear when printed. I then saved it to my flash drive, and headed down to the laser. |
|
Laser
|
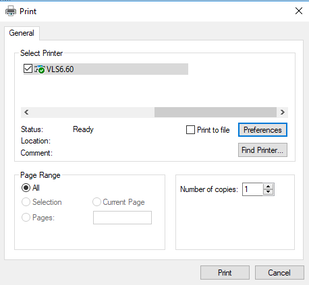
When at the laser, I used the computer paired with it. I opened the file, then did File-Print. I then chose the correct laser, the big one, and then set up the preferences
|
|
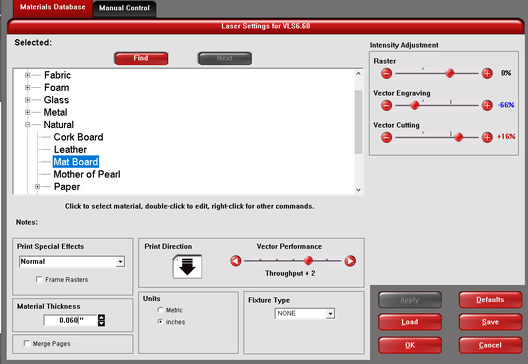
Next, I selected prefrences and set them up. Because my material was mat board, I set the thickness to 0.06" and then chose the mat board option. Then I clicked Ok and upened the UCP software. |
|
|
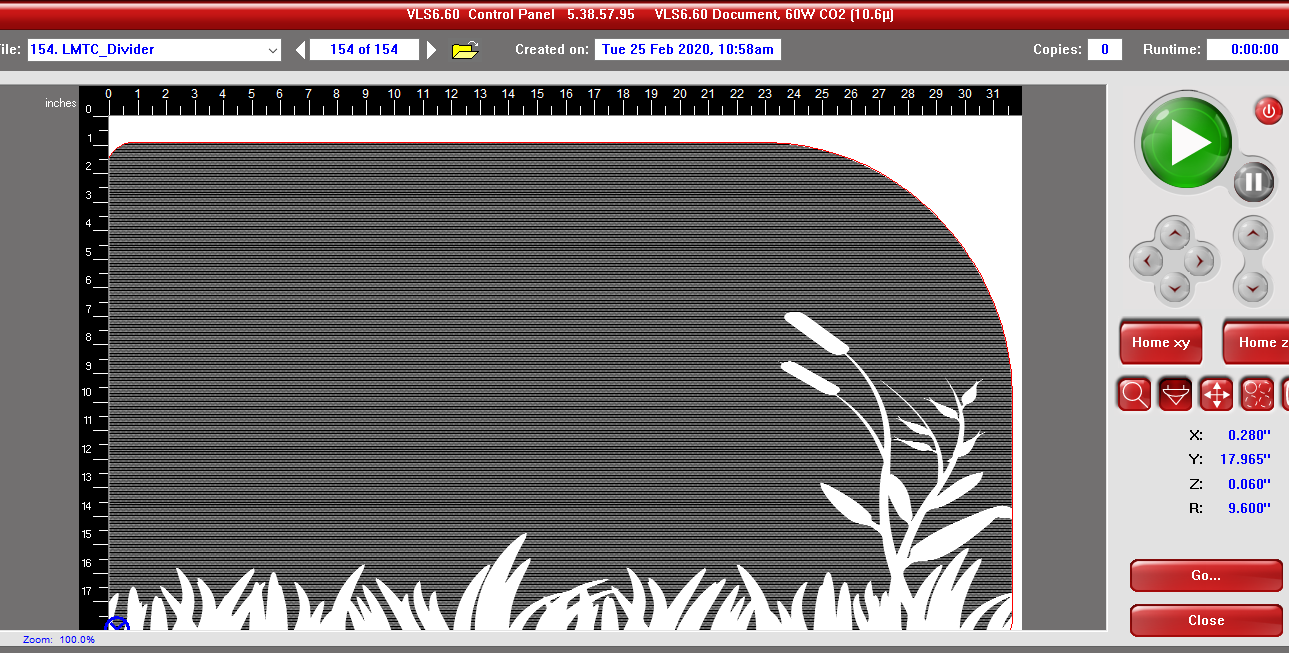
When in the UCP software, I used the focus tool to make sure that the laser was on material at al times. The bottom right was off the laser, so I used the relocation tool to move it to the right and up. Then I used the focus tool again to doube check, and It was ok. |
|
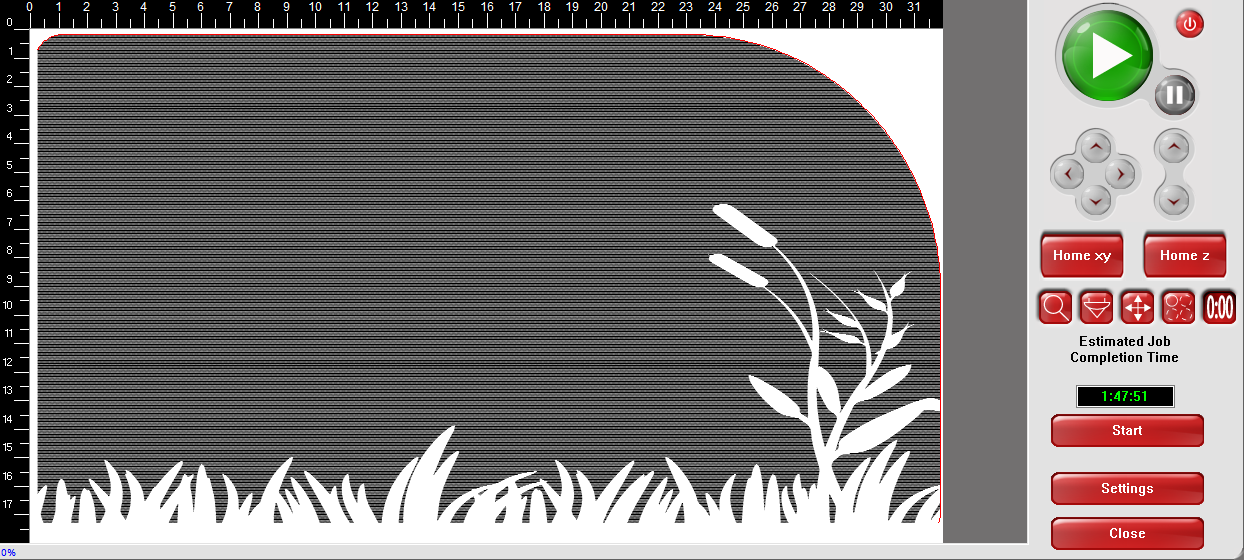
Finally, I estimated the run time of the project, which was about an hour and 47 minutes. Then I hit the big green "go" button. |
|
Engraving
|
|
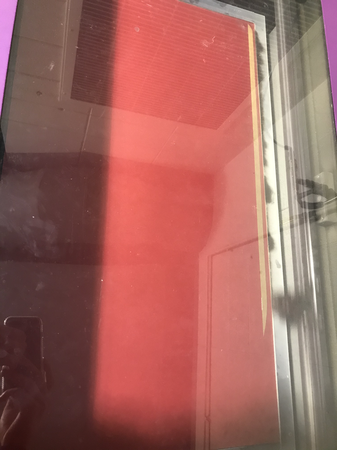
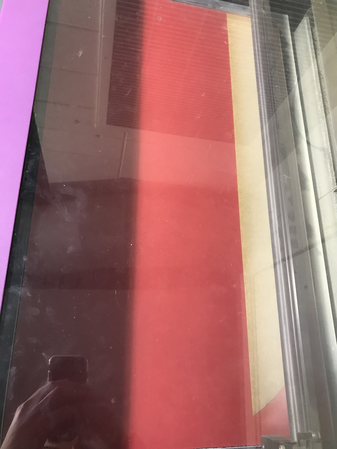
These are images of the mat board being engraved.
Final Mat Board
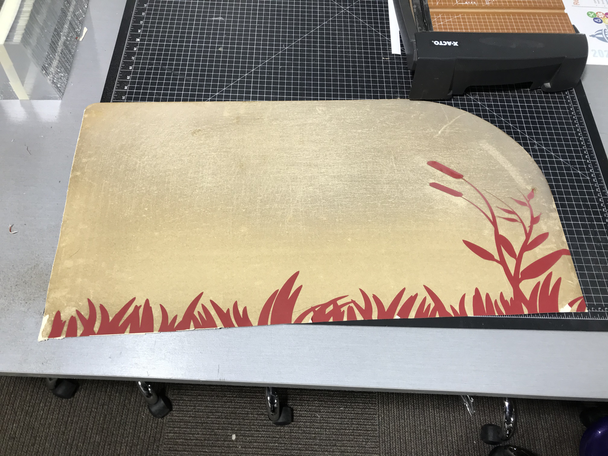
It didn't laser all the way through, but I used a box cutter and a straight edge to cut it out the res of the way. I think it turned out pretty nice!
Summary
Overall, this was a very unique and interesting project. From start to finish, I re learned how to use the machines and softwares that go with them, as well as time management skills. At first, two weeks didn't seem like enough time to complete two tasks. Having an extra week really relieved some stress and allowed me to put a lot more detail into my designs, as well as have time to redesign my brackets.
My first two bracet ideas didn't work. The original idea was to create a bracket witha screw that went up into the table as a holder. The screw would have a flat end to it, so it wouldn't do any dammage to the table. Due to time, I had to scap the idea, even though it would've been a good idea. The second idea was a bracket with a clamping mechanism, which didnt work because there was too much space created by a bent arm at the bottom. I ended up with a square bracket, which is a tight fit on the table.
As for the laser, everything went smoothly, with the one hiccup at the end after it printed where it didn't cut out all the way. That was an easy problem to fix, however, and I was able to cut it out by myself.
Overall, I am happy with what came out of this unit, as well as the skills I have learned. On to the next project!!
