|
|
|
Universal Laser System
The Innovation Center at Waunakee is fortunate in that it has two differnet laser engravers in the far corner of the room. In IDEA, we used Adobe Illustrator to design and format a key chain using one of the lasers to cut and engrave the design onto a peice of acrylic. This is the proscess I took to create my very own Waunakee Wave key chain!
The Waunakee WAVE key chain
I knew going into the project that I wanted my key chain to be on something that I use every day. Because I don't have my own car yet, the first thing that came to mind was my swim bag. I decided to make a key chain that I could put on my swim bag with my team's logo and my last name on it.
Getting Started
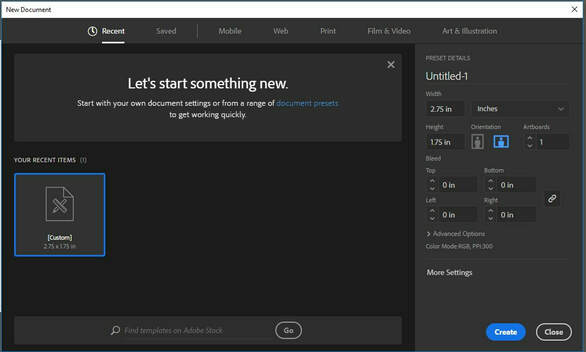
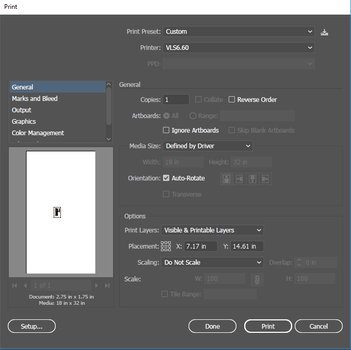
First, I started by opening Adobe Illustrator and clicked on "File" then "New". Immediately after you click 'New" a window will pop up exactly like the one in the first Image. Make sure the units are inches and that the dimensions are 2.75x1.75. Make sure that you have the RGB (color) selected, and hit "create".

Now you should see a blank canvas in front of you called the ArtBoard. Notice on the right side of your screen is the tool bar. You can use this to create different shapes and various designs while in Illustrator.
Drawing up the Keychain
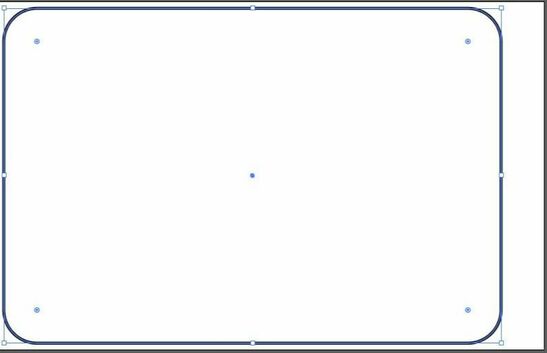
I knew that beecause I wanted it to go on my swim bag strap, having sharp edges would be uncomfortable and poke me in the shoulder. To avoid this, I used the rounded rectangle tool. To find this tool, find the rectangle tool on the tool bar and click and hold on it. A drop down menu will pop up with various options for shapes. Click the rounded rectangle option and begin drawing. Once youy have the rectangle completed, change the lines to .0001 pixles and RGB to red so that the laser knows to cut it out.
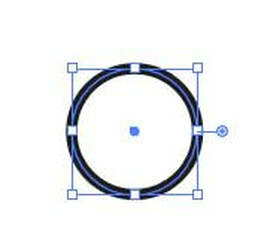
Next, I created the hole for the keychain. I made it 3/16 of an inch in diameter. To create this, I used the elipse tool and held the shift keyto make sure it stayed straight and didn't turn into an oval. I changed the circles lines to .0001 pixles and RGB red as well so that the laser cuts it out.
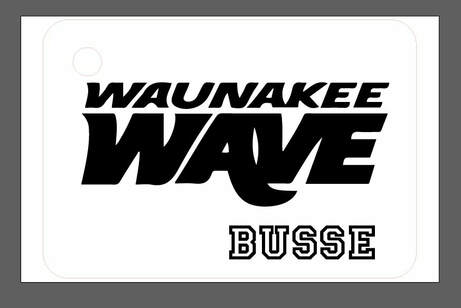
Next, I used the text tool, selected a font and typed my last name on it. After I created my name, I went and found a black and white image that I wanted and copied and pasted it onto the key chain. I used arrow keys to move my image and resized it to the size I wanted when necessary In order for it to engrave, you have to convert it to a vector image. To do so, you mustuse the "Image Trace"setting of "Three Colors". Then You will use the direct selection tool to remove all colors other than black and white.
Boom! You now have your key chain
design.

Laser Engraving Your Key Chain
|
The first step you will need to do to turn your illustrator file to one that is compatable with the laser is to print it to the "VLS6.60" printer. Hit print and head to the software on the computer by the laser. |
|
|
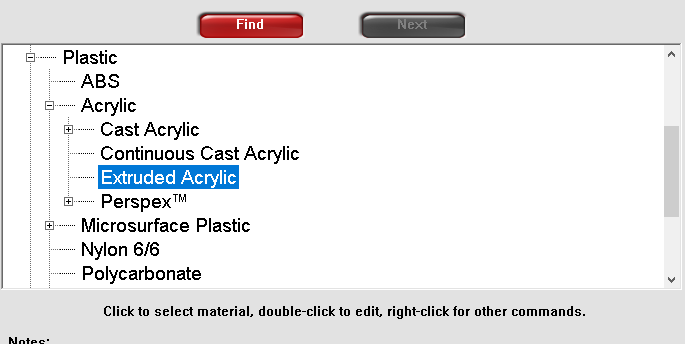
Once you have opened the software, go into the settings and this screen (Pictured on left) will appear. To create your key chain, you will be using extruded acrylic. To tell the laser that that is your material, go to Plastic-Acrylic-Extruded Acrylic. Then I used a dial caliper to measure the thickness of my acrylic peice. I then entered it into the "Plastic Thickness" option at the bottom of the screen. Finally, I pressed print. |
|
Next, return to the desktop of the UCP program. Your image should be visable here. To ensure that my key chain would come out square, I placed it in the upper right hand corner (Pictured on right). |
|
|
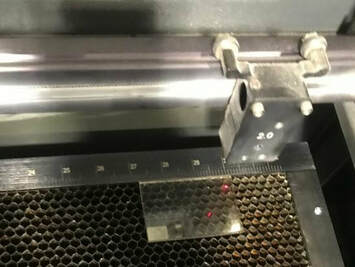
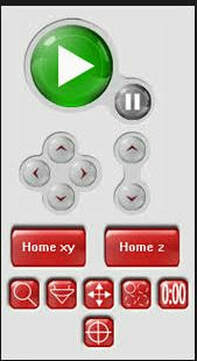
By selecting the second red button under the "Home XY",that somewhat looks like an ice cream cone, you can move your image around the screen by clicking in the white work space. I moved the laser so that it would be on the bottom right side of my project where it would cut the key chain. After I got the laser situated where I wanted it, I utalized the crosshairs function to select the bottom right corner again. Next, I triple checked my settings , and hit the green print button on the screen! |
The Final Product!
|
|
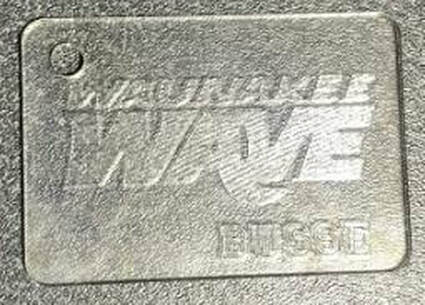
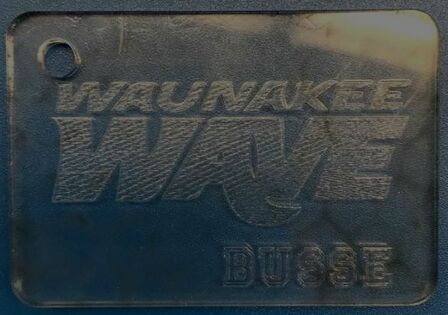
I ended up coloring my engravings black so that it could be seen easier and cleaned off the burn marks form tha laser that are visable in image two to make it look nicer.
Vinyl Names
|
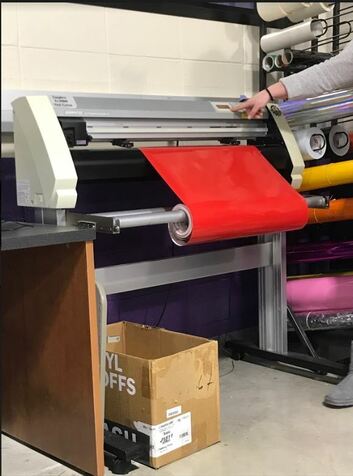
First, Mrs. Procftor showed us how to load the vinyl machine. To do so, you have to lift up th wheels and line up the edge of the vinyl sheet using the guide on the bottom of the loading platform. For our names, our hour was assigned red, but the innovation center has many different colors and patterns. |
|
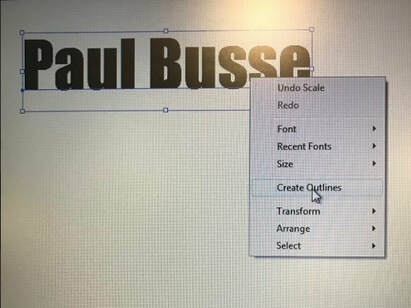
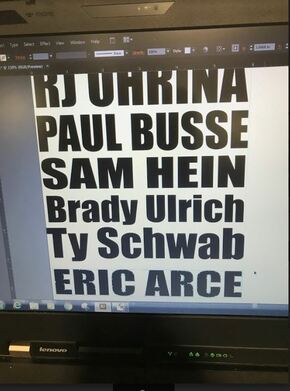
We made our names so that they would fit the notebook. This makes them 6 inches. To do this, we added a line 6 inches over on the workspace on the software that is on the computer set up with the vinyl machine. Using the text tool, I clicked on the screen avoiding creating a box. I changed the font to "impact" so that it could be seen well on the notebook. After that, I cright clicked on the text and clicked "create outlines". This will tell the laser where to cut. Finally, I moved my name so it was directly under the one before mine, and resized it accordingly. Then Mrs. Proctor printed them while we got our tools to cut them out. |
|
|
The next step we completed to make our names was doing something called "weeding". "Weeding" is when you use a dental tool to pick out the circles from letters that are in your name such as "a,b,p, etc. I then picked out the outside "shell" from the name and went and got the transfer tape to complete my next step.
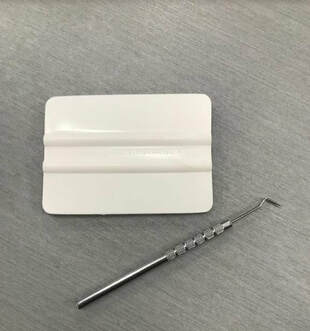
I cut a peice of transfer tape just big enough to fir my name. After I cut it, I used the squeegee tool to make sure that the name was attached to the transfer paer before I pulled it off of the sheet. Then I moved the name to the notebook and made sure that it was centered and straight. [Image to right is of the tools needed to successfully transfer your vinyl] |
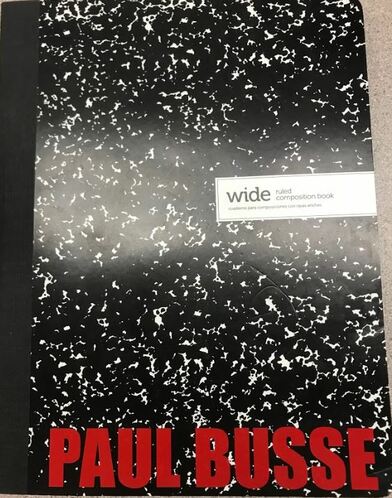
The Final Product!
Summary
Going into the project, I knew absolutley nothing about Adobe Illustrator. Now, after effectivley using it to create two projects, I am confiodent to say that it is a very versatile system. Unlike Inventor, which I am familiar with, we are restricted to only 2D images. Instead it uses vector images which are normal images, but they don't appear fuzzy when you zoom in on them. This is because they are made up of paths and anchors to keep the image clear. An advantage to vector images is that they are a smaller file size as well.
The first thing I made on the laser was my key chain. I designed it in illustrator. I learned that when working on the laser, that it recognizes the different typed of lines such as red means "cut" in the "laser language" and black meand "engrave". You have to make sure that the red line is .0001 in width so that the laser cuts it appropriately. In order to get my waunakee wave logo to a vector image, I had to use the image trace option. After it was all formated, I had to print it to the laser and log oon to the UCP software to finalize the laser settings. A couple seconds later, I had a new keychain for my swim bag!
The second and final thing that I used Illustrator to create was to create a vinyl name for my Engineering Notebook. I used the computer set up with the vinyl machine and typed my name so that It fit into the required 6" sixe (width of the notebook). I learned that you have to select "create outlines" to print it correctly. Mrs. Proctor taught us the proscess of applying the decal to the notebook and about the different tools you need to be successful. Overall Illustrator is a new way to design vector images to do many differnet things with!
P.S.: Never, I repeat NEVER call the decals "stickers". They are decals! Also, never ask where the scissors are because they are in labeled drawers :-)
