My Personalized Notebook
This is my Engineering Notebook designs for the individual laser project.
Customized Notepad
|
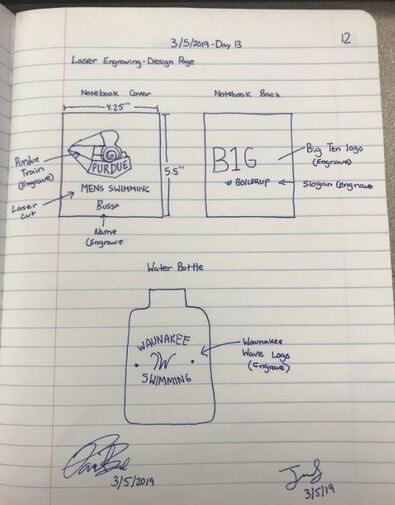
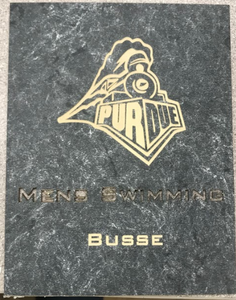
The first step to creating my Purdue Notebook was designing it in Illustrator. I began By creating two 4.25"x 5.5" rectangles to draw in. It is very important that these rectangles are cut out because without them, the notepad would still be attached to the mat board. I then clicked on them, changed the utline to .0001 red and began drawing.
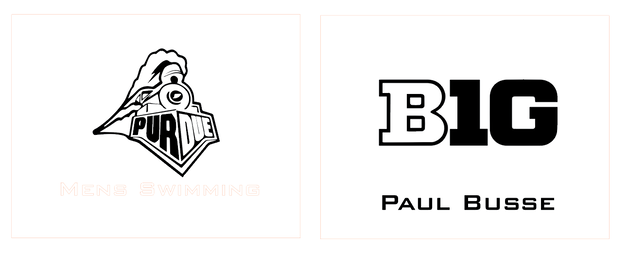
Pictured on the left is the final design from it, before I rotated it so that it would fit the notebook. Next, I inserted the Purdue Train and the B1G logo from google and image traced it with " 3 Color" mode and clicked "Ignore White" for both Images. Finally, I expanded and resized them correctly so that it would look the best. Next, I inserted the text. I created outloines on all text but the one that I wanted cut out. I wanted the laser to cut out "Mens Swimming", so I clicked on it and changed the outline to .0001 red, did some finishing touches, and headed to the laser. |
|
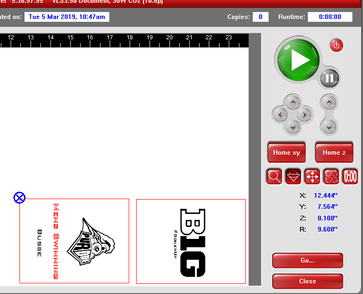
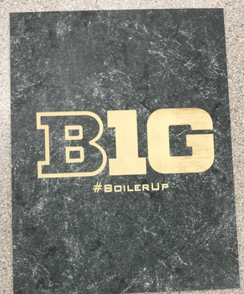
At the laser, I set it up just like any other product. A difference with the mat board is that when setting up prefrences, you have to adjust the material type. For this product we used mat board so you have to select: "Natural", then "Matboard". This will tell the laser what you are putting in the laser. Next, Place the mat board into the laser and align it to make sure that all of the design fits on the laser. I had to grab a new peice because My design didn't fit at first. Once situated, press the big green play button and watch!
|
|
The Final Product!
|
|
|
|
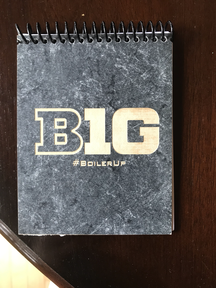
Above, you can see my final product for the notepad! To fill it, I took 5 sheets of paper and cut them in half, then in half again. This made it have 20 pages for notes. Next, I took the front and back covers and went to the notebook hole puncher. Here, making sure it was aligned, I punched the holes in the covers for the binding. Make sure you only do one at a time, as more than one can break the puncher. I did the same with the paper I cut, seperating them into groups is well. Once the holes were punched, it was time to assemble!
To assemble, I grabbed a pair of pliers with wire cutters and cut a peice of notebook binding to fit the holes. After that, I simply fed the binding through the holes and then bent the end of the binding on itself to prevent unraveling. Then I trimmed it and took it home! It works out perfectly because I am visiting Purdue to tour it in April!
Image Sources:
Purdue Train-https://www.logolynx.com/images/logolynx/31/31a62633e03e9bf5013070c2710b9f92.jpeg
B1G Logo- https://encrypted-tbn0.gstatic.com/images?q=tbn:ANd9GcQMcXOLyY7p9dN8SxkILkByv9Ficc8z_cGwbEyOyWzhYhmZnlR3
Customized Water Bottle
|
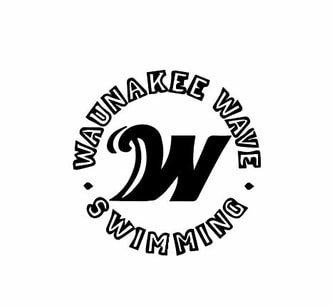
We first started by designing it Illustrator. I wanted to make a water bottle with my club swim teams logo on it. I googled the image I wanted and pasted it into Illuistrator. Its important to tell it to engrave the bottle, and not cut. To do this, the outlines should be black or blue. Pictured on the right is a capture of my final design before I rotated it 270°. |
|
|
|
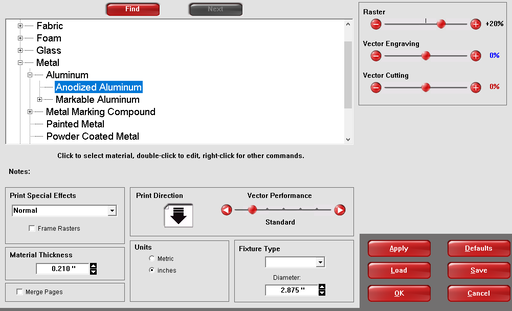
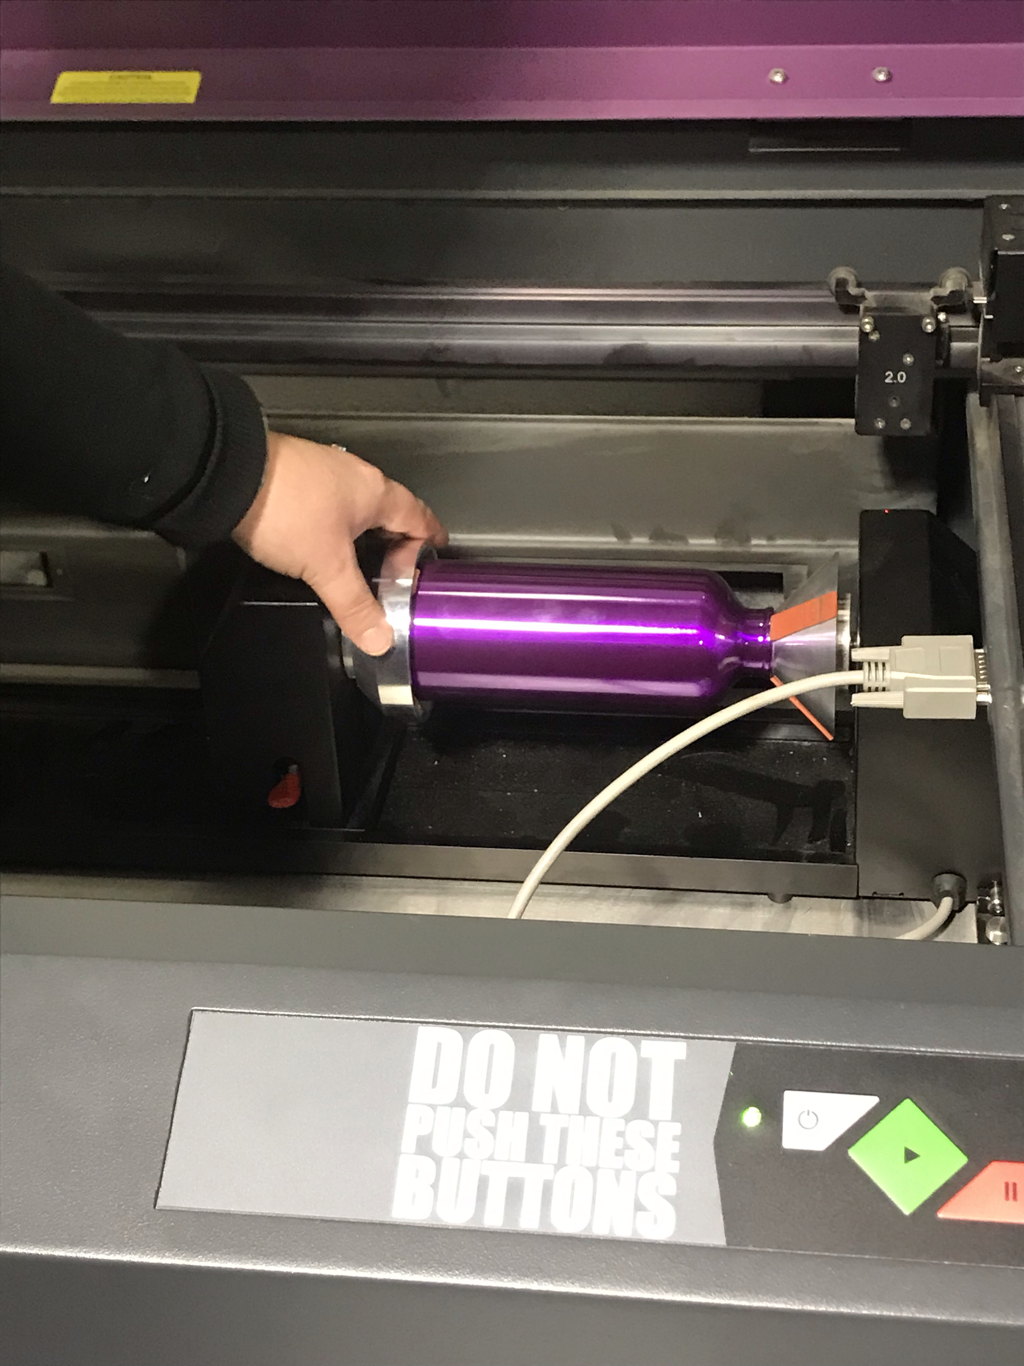
Next, head to the laser. Make sure the rotary jig is in. If it is nopt, remove the laser bed and place the rotary jig in. This will allow you to print your water bottle. Once you have opened the file, it is critical that you select "Anodized Aluminum". This will tell the laser to just remove the coating from the water bottle and not burn it. Then select "rotary" for the fixture type. Finally, I used a dial caliper to measure the diameter of the water bottle and entered it into the software. Now open the UCP. |
|
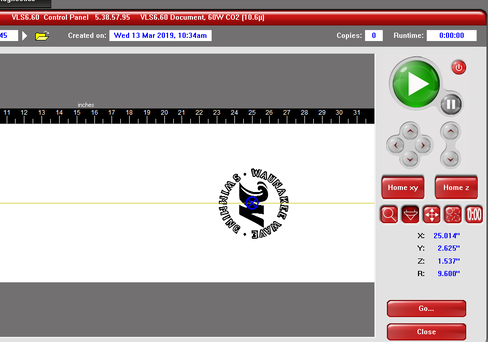
Once you have opened the UCP software, use the pointer tool to put the laser in the middle of the water bottle. Once centered, I used the cross hair tool to select the center of my image. Once I made sure that the image would print on the bottle, I closed the lid and pressed play! |
|
The Final Product!!
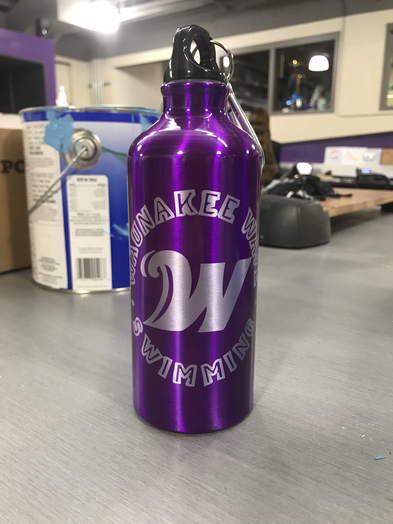
Lots of people from my swim team have asked me to make them one!! It looks really good not only in my backpack, but on the pool deck!!
3D Laser Cut Fish Puzzle?!?
|
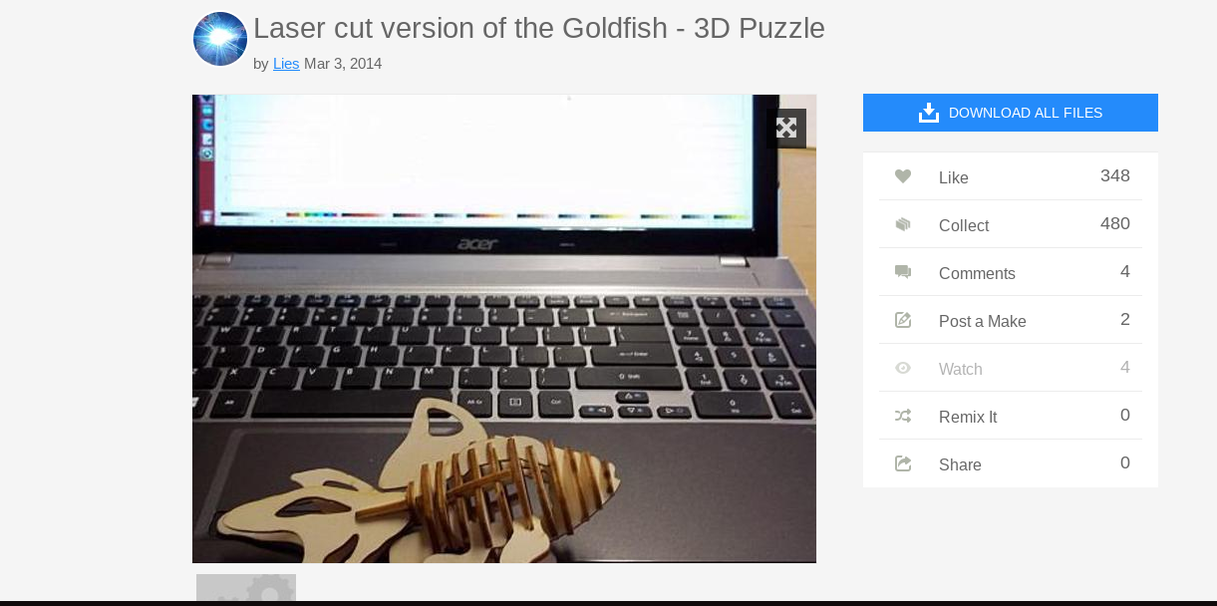
Here is a capture of the Thingiverse design that I wanted to create using the laser to cut out the peices! Thanks to user "Lies" for creating such an amazing puzzle!! To begin, I clicked Download all files. This was a pain for me and Mrs. Proctor because it was an .SVG file so we had to do some extra work to egt it to go into Illustrator. |
|
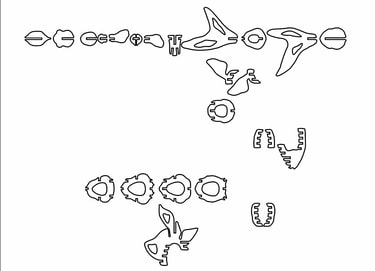
Once we got it into Illustrator, I resized it to fit onn my peice of cardboard and deleted all of the unneccessary lines and dimensions. It ended up looking something like this. After I got it on to the artboard, I changed all lines to .0001 red so that the laser knew to cut them out. I then printed it for the first time... |
|
|
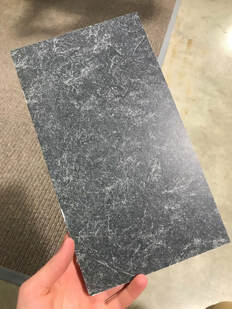
What I meant by "First time" is that I attempted to print it with cardboard. I mis meaured my cardboard and it was too thick for the puzzle to work. I then changed my material to mat board and it fit snuggly. |
|
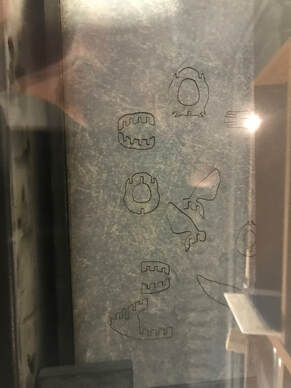
Here is a picture of my puzzle in the UCP software and of it printing it. Mrs. Proctor helped me move a few peices together so that they could all fit on my peice of mat board. Then I hit print and waited about 10 minutes for the entire thing to finish. It turned out a lot cleaner than the card board because it didn't have any "fringy" peices that I had to worry about breaking or ripping. |
|
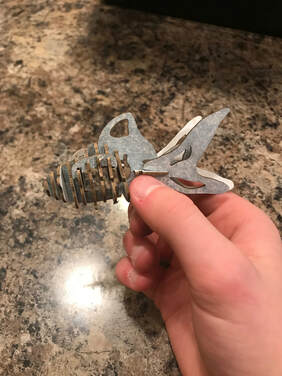
The Final Product!
|
Once Every peice was printed, I had to put it together and I must say, It turned out pretty darn good!! It was a struggle to follow the instructions that were on the Thingiverse site, but I was able to work through it. The files were intended to be made on a 3D printer so If I could do it again, thats the way I would do it!! Even though I had some "hiccups" making it, I am very pleased with my 3D fish!! |
Summary
The laser rotation is probably the hardest, fastest paced, and most work of them all. I learned how to work efficiently and use my class time productively. Although you can get a lot done in class, some things like this webpage are best done outside of class to maximize your work time. I am very impressed with myself that I was able to complete so much in such a short period of time and have it turn out awesome.
One of the biggest components for the laser rotation was, of course, the laser. I knew bits and peices going into the rotation from our first laser project we did as a class. Part of the rotation is to show your knowledge and understanding of the different machines and softwares avalible in the innovation center. Because it was so new, it caused a bit of anxiety for the first class. But after I got past the anxiety, I was able to learn the different materials compatible with the laser form wood to cardboard to matboard. The laser is a pretty awesome tool to have in the Innovation center.
I also learned how to set up and use a rotary jig when I was creating my custom water bottle. I learned that you have to take the laser bed out and then put it in. I also learned that you have to close the door on the laser after putting it in otherwise the laser won't print. Also, you always have to remember to plug in the jig to the laser so that it will print on it. It is very important to set the fixture type to rotary in the UCP software as well.
All in all, I was able to manage my time well and successfully complete the Laser Rotation and making new things. I can't wait to begin my Vinyl Rotaion!!
