The Original Poncho Squad Decal
A little background info on the decal and the originality of it. Last year at a swim meet, my friend was counting for my 1650 yd. freestyle. I tend to splash a bit on my turns and whenever she counts for me, she always gets wet. She doesn't care about getting wet, but as a joke she said she should wear a poncho to keep her dry. At the next meet, I brought a poncho as a joke and ever since, it has come to every meet. We write our best times on it and who counted for you on it also. It is me and three of my best friends in the group and this decal is of our symbol or logo. The same one is also on the back of the poncho drawn in sharpie.
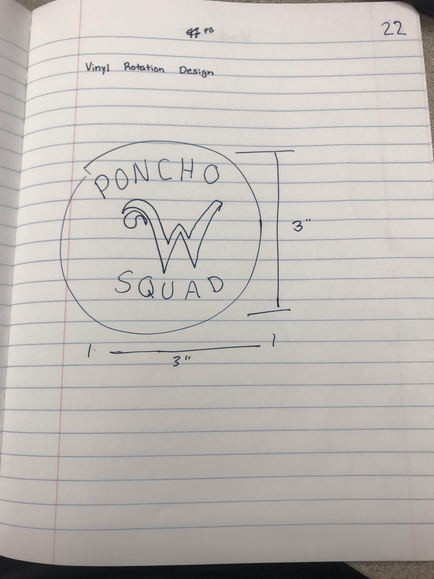
I wanted to create this decal so that we could have something to put on a water bottle or something to show off that we are the poncho squad, because obviously we all can't wear the poncho to school...
My first and only design features a three inch white circle with black text that reads "Poncho Squad". To top it off, I added a purple W from my swim teams logo.
|
|
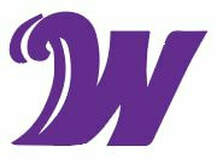
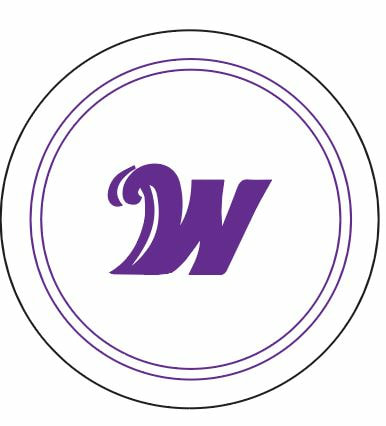
This is the image that I used to create my decal. I cropped the letters out of it so that I was left with only the W. After that, I grouped it together and right clicked. I then changed the color to Purple, my teams colors and one of the three required colors for the project. On the right is the result. |
|
|
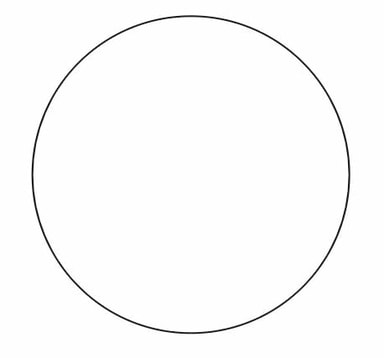
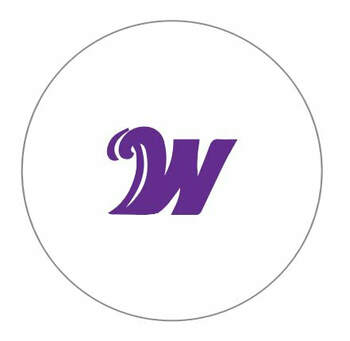
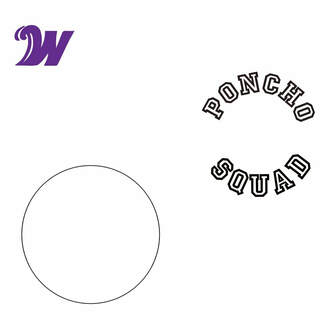
Next, I created a circle that was three inches by three inches. This would be the background for the decal. I then made sure that the lines turned blue when I hovered over it. If it didnt, then the vinyl cutter wouldn't cut the circle out. On the left is what this looked like. After that, I centered the logo in the middle of the circle. The picture on the right is the result of this. |
|
|
Now comes the hard part. I wanted to create the text so that it would go on the top and bottom of the W, but at an arch. To do this, I created two additional cuircles within the circle and used the "Type on a path tool" I then made the circle invisable and selected my font. To type on the arch, I clicked on both circles and typed "Poncho" on top and "Squad" on the bottom. |
|
|
Once my text was set, I resized it so that it looked best and was the biggest possible. It ended up looking like this. Now, on to production!! |
Cutting the Decal

|
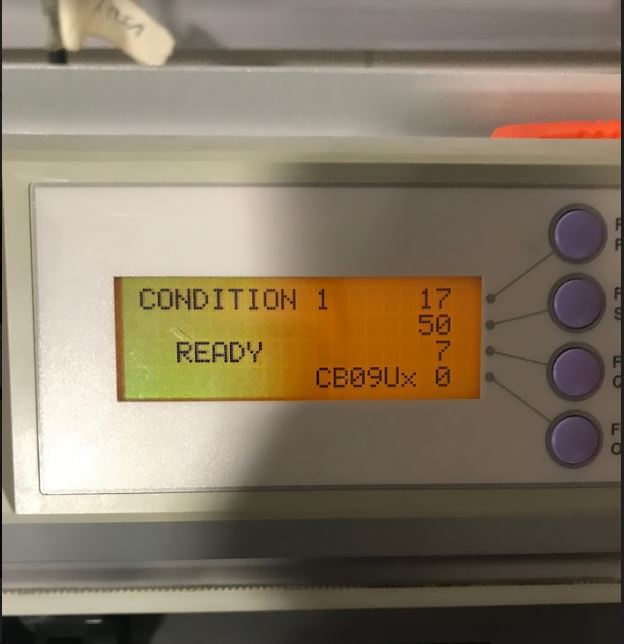
The first thing I did when I went down to the innovation center, was select my colors. It is very important that you look in the scrap bin first to see if you can use anything from there. This minimizes the amount of decal material used. I wasn't able to find any there, so I used the rolls. To load the rolls, select your color, place it on the front roller and feed it to the printer. Make sure the purple lever is dow to release the holders, otherwise you won't be able to put the material through the machine. Once it was centered, I clicked the button that went with "roll-1 front set' and enter. The cutter will now see if it is ready. Then, if ready, it will give you the screen on the right.
|
|
|
Next, after opening your file on illustrator on the computer next to the cutter, select the part you wish to print. On mine, I had to seperate all of them so I could print them individualy. |
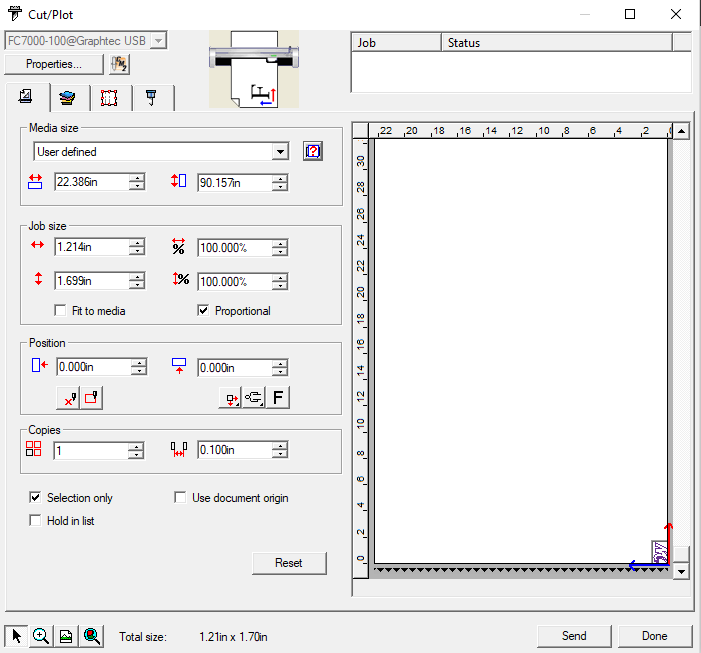
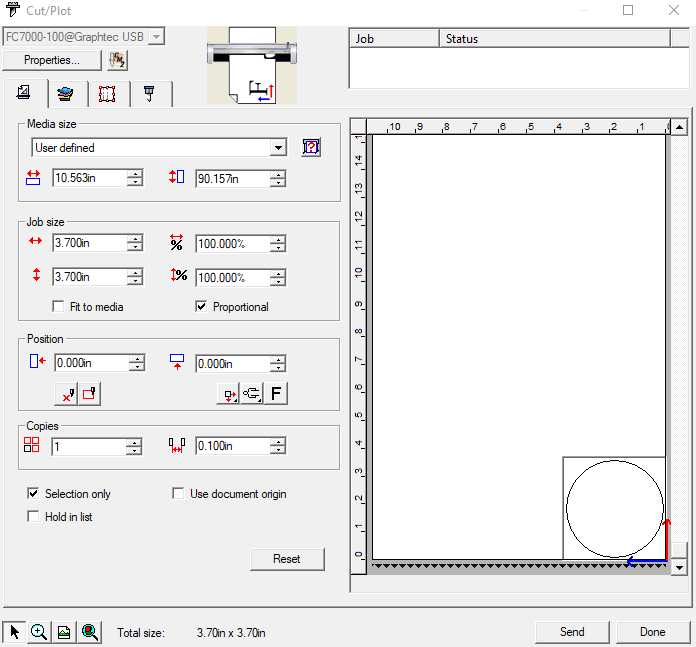
Next, right click on the image you wish to print, then go File-CuttingMaster-CuttingMaster2. A new window will pop up to set up your decal part. It is important that you use as little material as possible when printing. Make sure that you check the media size and location of the decal part in the software. If there is a red box around any of your paths, it means that you have extra paths and anchors in illustrator that need to be deleted. Then select the question mark box, and click send. Wait for it to be printed, release the material from the printer, and go to the table and cut it out with a box cutter, leaving as much material as possible. Repeat this for all parts.
|

|
|
|
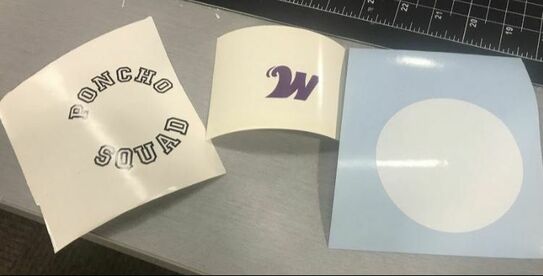
After everything is printed, head to the table to begin constructing the decal. Grab some transfer tape and some scissors, as well as a dental tool and a squeegee. I began by peling off all of the excess decal material so I was left with only what I needed. I did this for all three parts. Once all was situated, I began weeding.
|
|
|

|
Once everything was all set,I began weeding my letters out. Weeding is the proscess of removing the excess material from the middle of the a's, d's, q's, etc. To do this, I used the dental tool to pick out the material. |
|
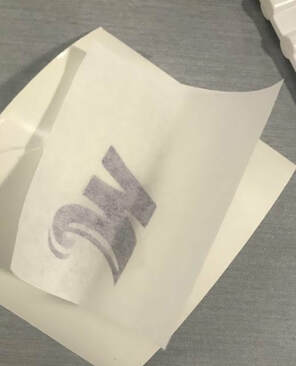
Next, I transfered everything onto transfer tape. It's very important to use as little tape as possible. After I transfered everything, it was on to assembly! |
|
|
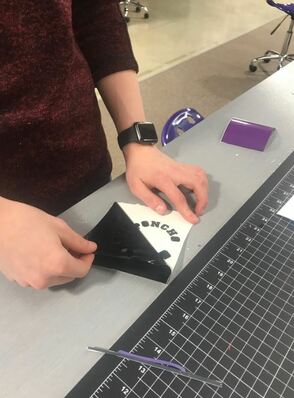
First, I put the W on so that I could align everything around it. After I put the W on the white circle, I placed the words around it. I had to eyeball everything. The first time, while I was trying to align it, I accidentally placed the letters off center and they didn't lign up. Because of this, I had to pick off all of the letters, which was just a bit of extra work, but it was ok. In the end, It turned out very good and was centered.
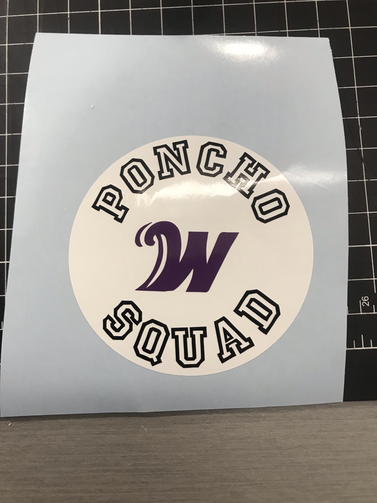
Final Product
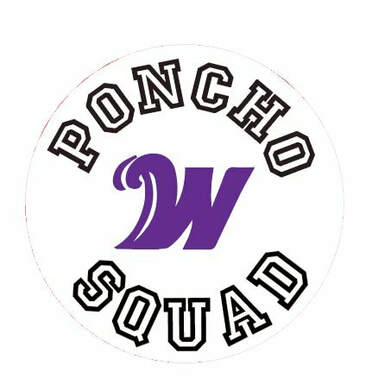
I learned a lot in this rotation. Previously, I had no idea how to use the vinyl machine. Zero. I learned how to load the material into the machine, center the material, and refreshed my memory on weeeding and setting up m,y decal. Overall, though, the most important thing that I learned has to be that it is a DECAL and NOT a STICKER. If you say sticker, the teachers get upset because there is a big difference.
Some major takeaways from this rotation that I learned was to make sure that your decal peices are centered before placing it. I learned this the hard way, as I had to print the letters again becasue they were WAY off center.
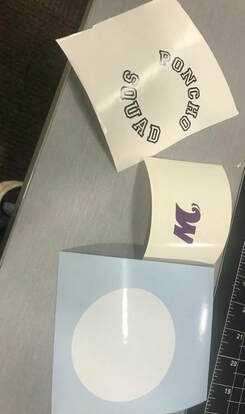
Above is the final product! I ordered a water bottle that I plan to put it on, but it hasn’t arrived yet so I don’t have a picture of it on that yet.
In conclusion, this rotation kept me on my toes and allowed me to learn a new machine avalible to me in the innovation center.
Some major takeaways from this rotation that I learned was to make sure that your decal peices are centered before placing it. I learned this the hard way, as I had to print the letters again becasue they were WAY off center.
Above is the final product! I ordered a water bottle that I plan to put it on, but it hasn’t arrived yet so I don’t have a picture of it on that yet.
In conclusion, this rotation kept me on my toes and allowed me to learn a new machine avalible to me in the innovation center.
