A Customised Musky Bait Box
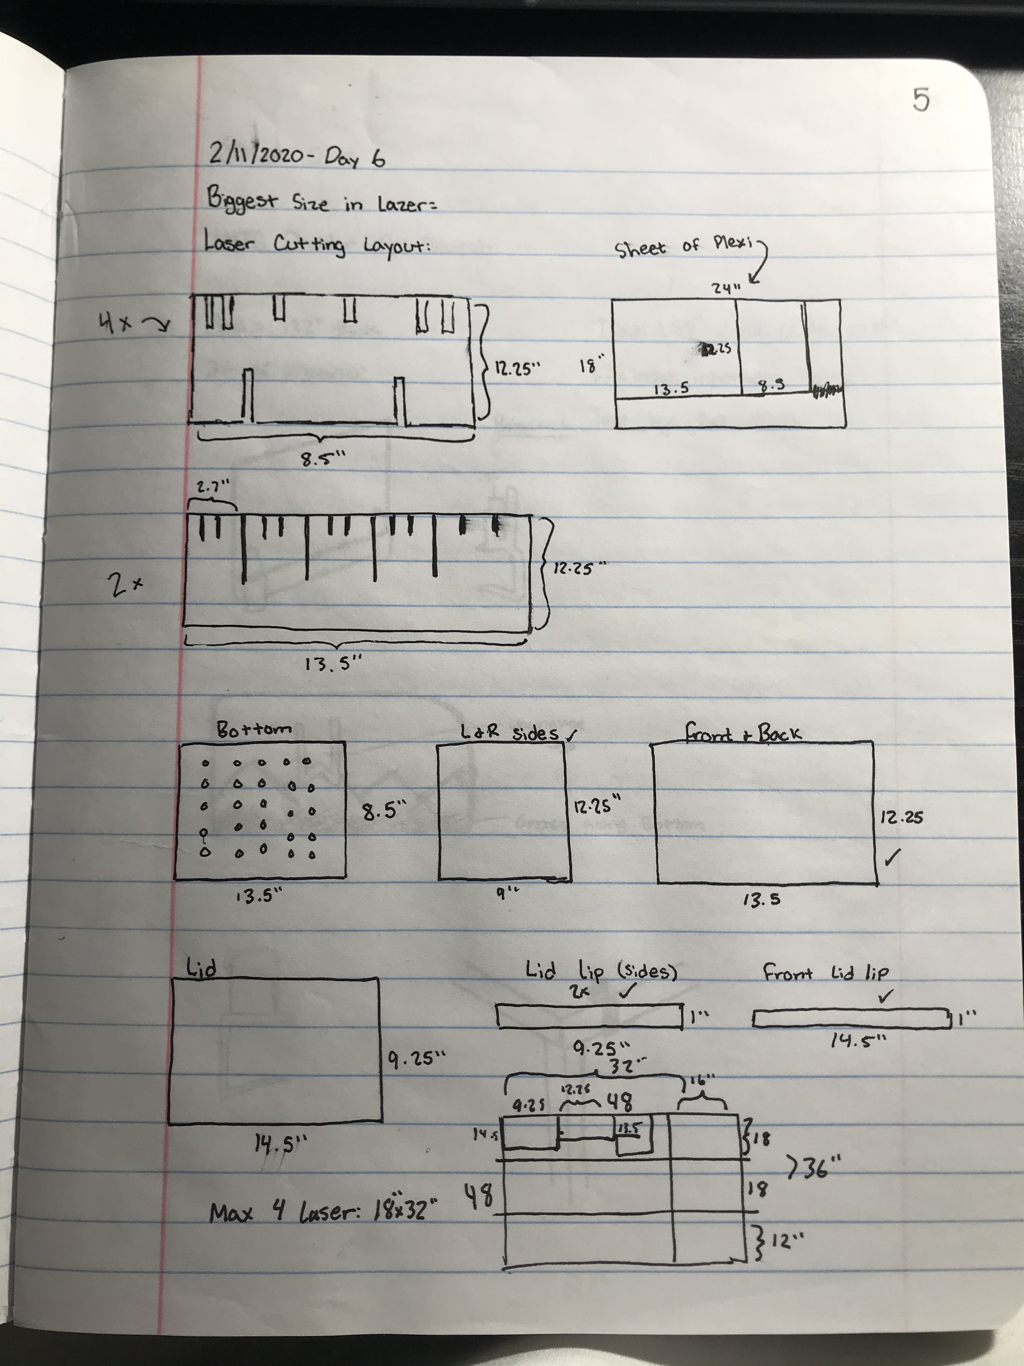
We were tasked with designing a project that would use three machines in the innovation center. Through lots of R and D, I was able to successfully design a box that would hold all of my oversized musky lures. Unfortunatley we were unable to produce the box, but I was able to gain access to the software that was needed (Inventor, Illustrator, Makerbot, etc.) and get it drawn up. Below is a picture of my designer notebook sketch.
Gantt Chart
In order to stay organized during my project, I designed a gantt chart. A gantt chart is a chart that has tasks on the Y axis, and the date that they are planned to be completed by on the X axis. Then you fill in the squares with teh total time you plan to spend on each project. As you can see, I had many different things to do, and overlapped when I planned to do some of them. This allowed me to maximize my time in the innovation center and on the computer. Below is a picture of my gantt chart.

Designing the Box
Illustrator:
Illustrator played a large part in my project. I designed the dividers and shape of the box that was to be laser cut out and I also used it to design a unique decal to be placed on the box.
Dividers, Hook Hangers, and Sides/Lid
|
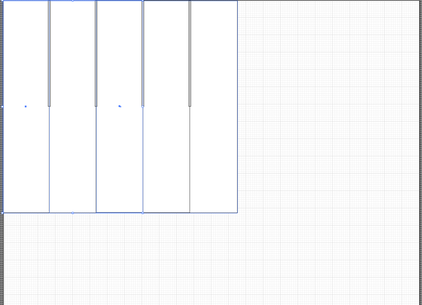
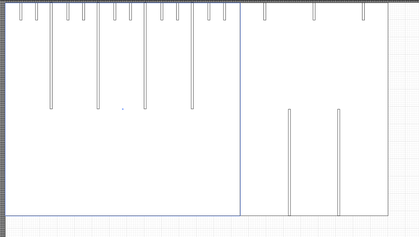
The first thing that I did was create an art boars the exact same size of my plexiglass. I had two different thicknesses. A .220 for the outside, and a .011 for the inside dividers.From there, I began designing the dividers. The first thing that I did to make the was create a rectangle that was the size I wanted and then I created smaller rectangles on the inside to evenly space out the hook hangers. |
|
|
The next thing that I did for the dividers was add the pieces that would be cut so that they coul lock with each other like puzzle pieces. I also drew up the cross sections. The long cuts will be placed oer the other long cuts coming up from the bottom to lock the dividers together, adn allow for adjustability. The smaller cuts are where I will hang the baits. |
|
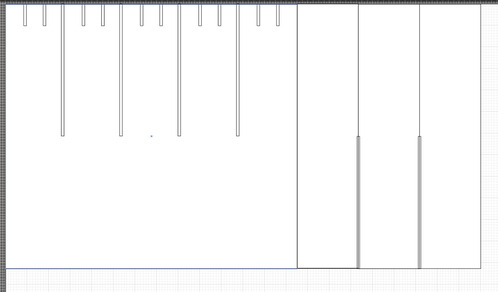
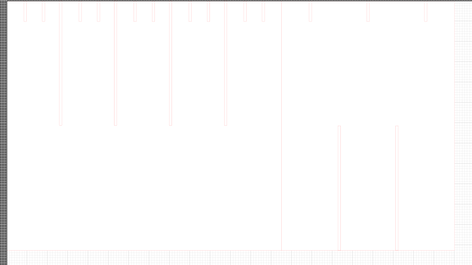
I then repeated those steps to draw up the rest of the dividers. I then created outlines and changed the stroke to .0001 red so that the laser knows to cut it. |
|
|
Here is a final picture of the dividers. I changed the outline back to black for the sake of the picture. There will be three total prints of each type of divider. |
|
|
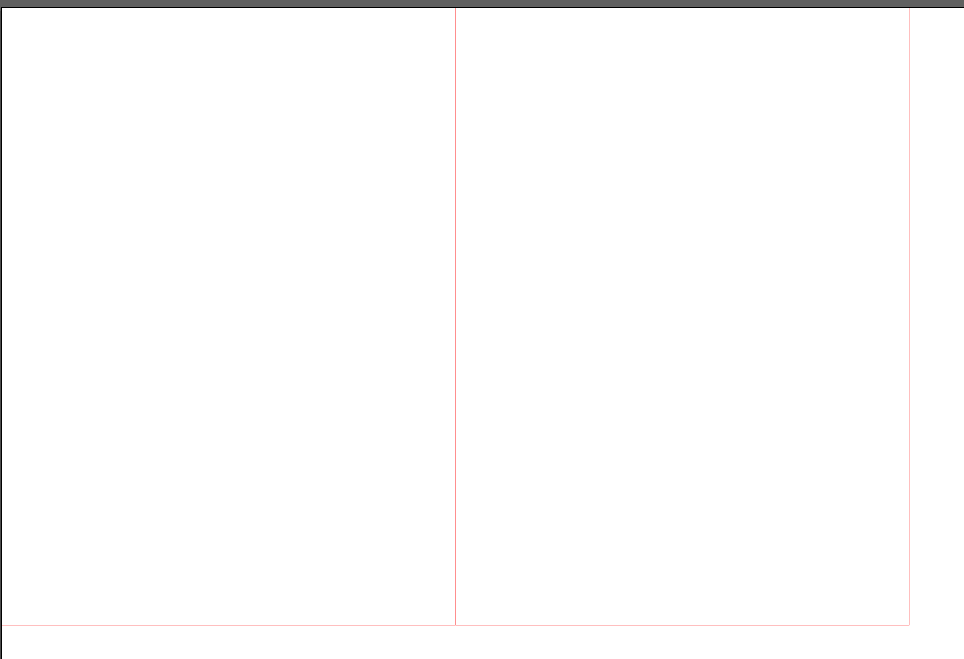
Next I designed the sides and lid. This went pretty fast because they were just rectangles. I then changed the outline to .0001 red. |
|
|
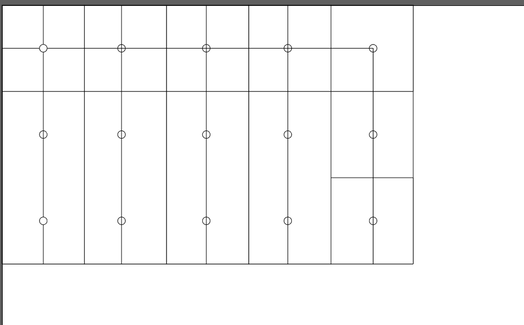
I then designed the bottom. The bottom was more challenging because I wanted it to have small holes in it for water to drain out of. This would reduce rust on baits and protect my investment. To make sure that the hoes were centered, I created a grid on the bottom and then placed holes at every intesection. |
|
|
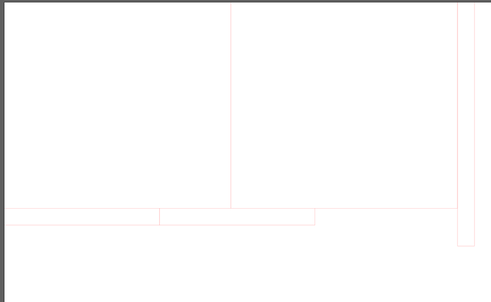
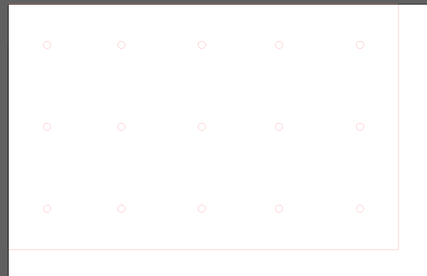
Once all of the holes were in place, I removed the grid lines and changed the outine to red. Here is a picture of the fial bottom design. |
Custom Decal
After I finished designing the box on illustrator, I designed a dacal to go on it.
|
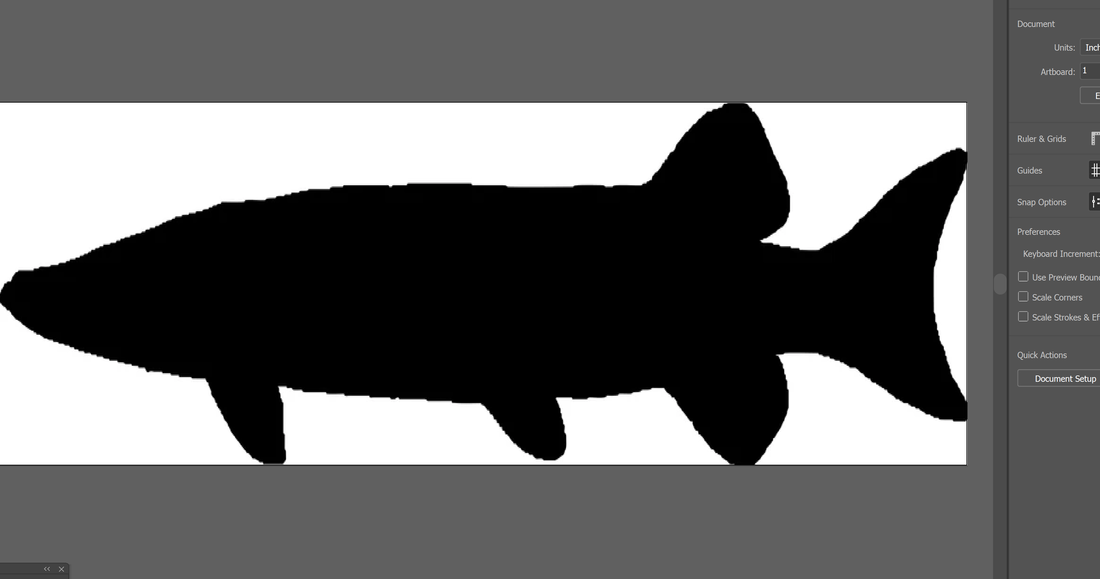
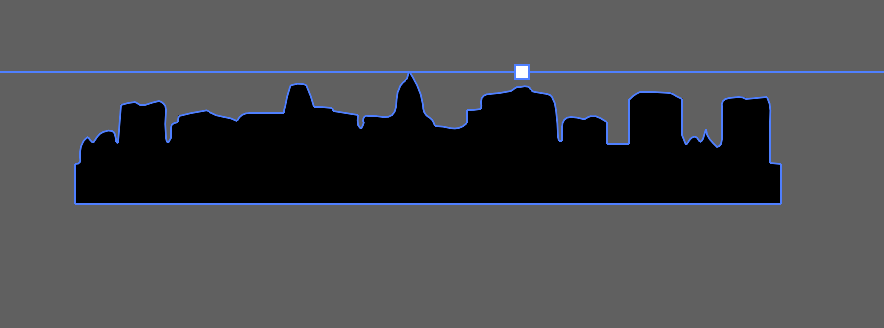
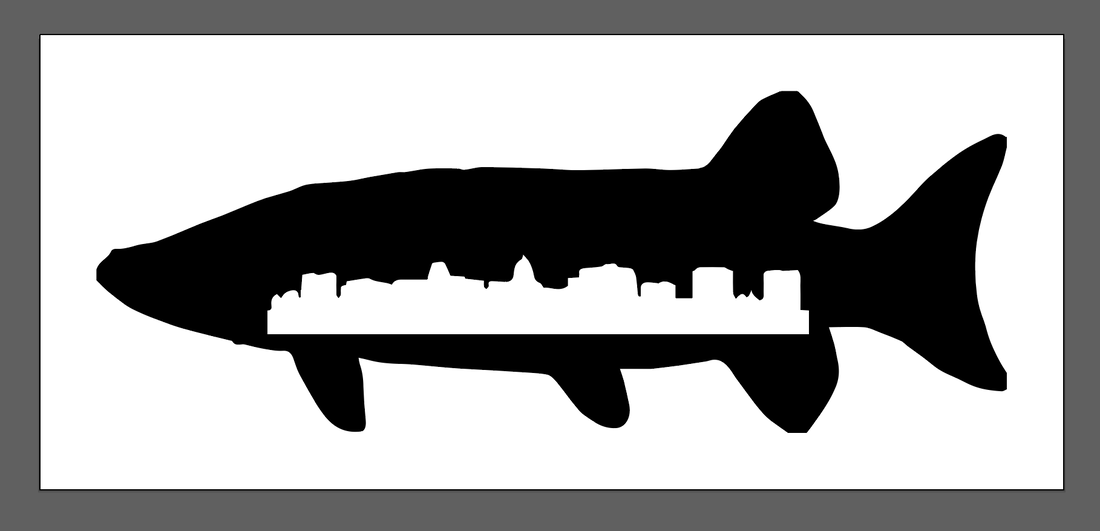
Because it is a musky box, I thought it would only be fitting if the decal had a musky in it. I decided to design a musky decal with a musky shillouette and then have the Madison skyline on it as well, since that is were I do the majority of my musky fishing. So I googled an image, copied and then pasted it into my artboard in illustrator. |
|
|
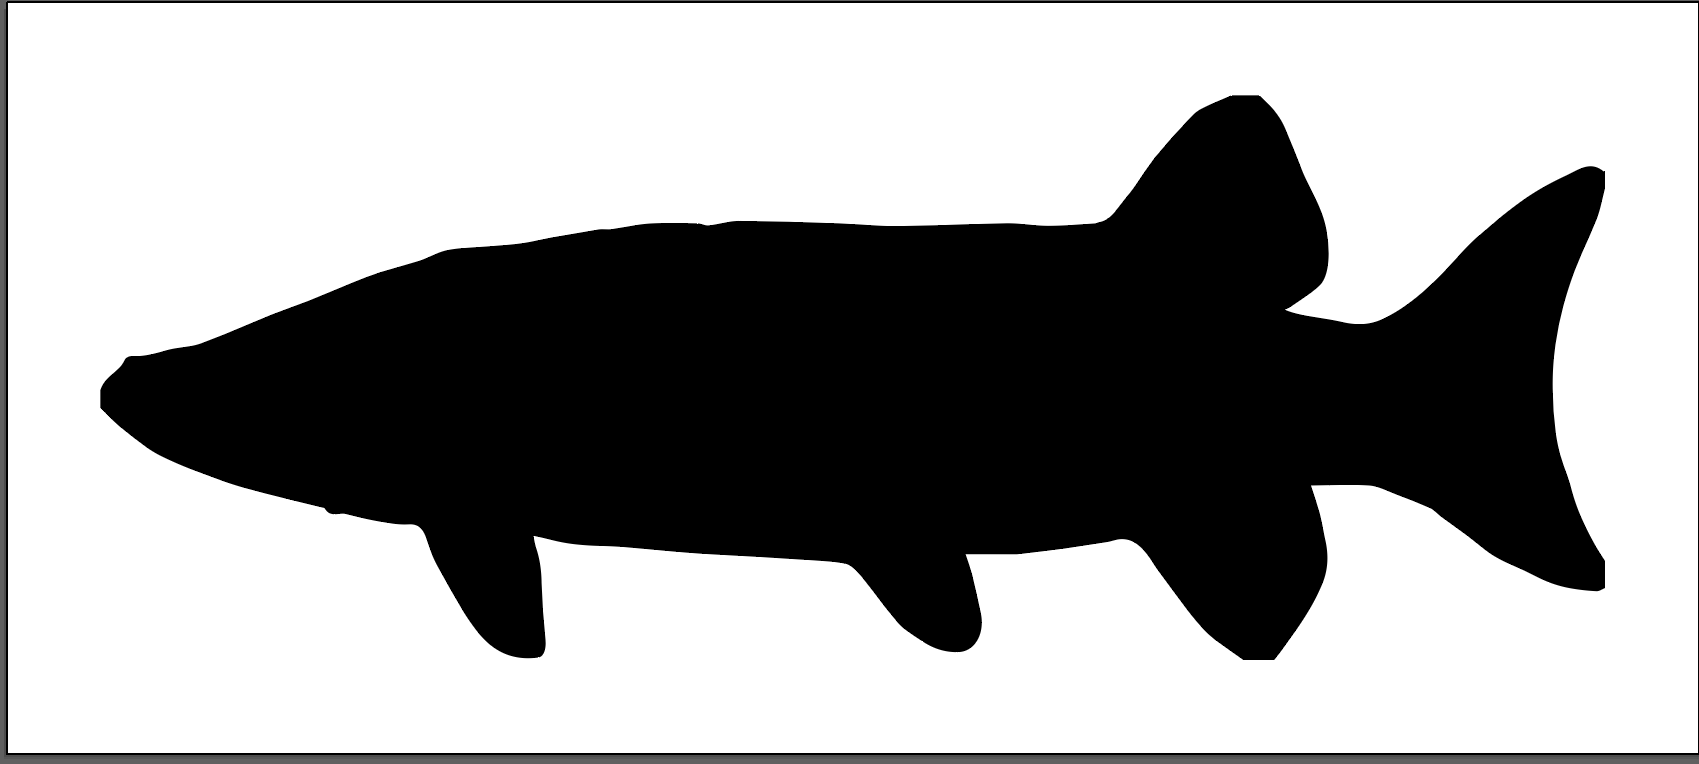
Next, I clicked on the image and Iimage traced it, then selected black and white logo, and then I clicked expand. I made sure that I was using preview as CPU as my viewing setting. |
|
Next, I uploaded a shillouette of the madison skyline and then followed the same steps as before. |
|
|
Then I put them on top of each other and grouped them. I then created outlines and made the stroke .0001 red so the laser cuts them. |
Inventor/Makerbot
My third machine I would use was the 3D printers. I designed a handle and corner protectors in inventor and finalized them in makerbot.
|
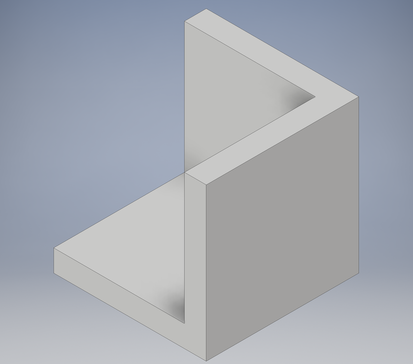
I first wanted to design corner protectors. This would also raise my box up and out of any water that would be sitting on the bottom of my kayak of it was raining. To design these, I created a L shape and exttruded it, and then added a square on the back and extruded that as well. The thickness is .25", which is plenty to prevent scuffing of the plexiglass. |
|
|
I then put the corner protectors into makerbot. Here is a picture of my design ready to be printed. |
|
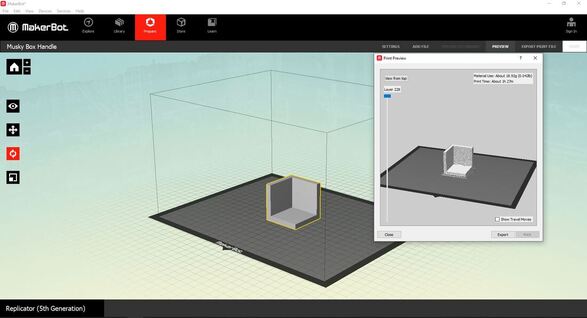
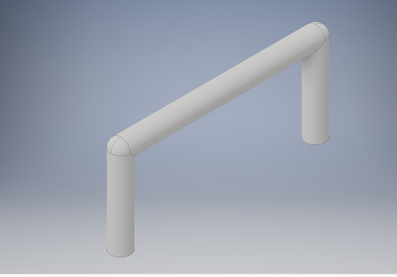
Next, I designed a handle. This was a pretty easy design I just made a rectangle first then used the fillet tool to round it off. To attach teh hande, I planned on using some sef tapping screws from the bottom to secure it. It seemed to be a pretty sturdy design. |
|
|
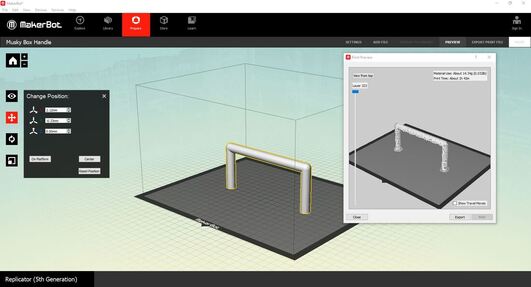
Next, I put the handle into makerbot, following the same instructions as the corner protectors. Here is a picture of it ready to be printed. |
Summary
Throughout this project, I learned many different things. I learned how to manage my time between this and the other side units we were working on such as Arduino and Heat Press. I also learned that Gantt Charts are amazing when it comes to staying organized, and I should use them for more than Big IDEA. It is too bad that we can't produce these projects, as I bought my materials for them and now I have no use for them. My dad and I plan to build it on our own with normal tools such as the plexi-glass cutter and purchase a handle and corner brackets. All in all, I am happy with how my design turned out. It is the perfect size to hold all of my musky baits and meets my needs exactly. Hopefully my dad and I can pull it off and create a cool musky box!
