|
|
|
Widget Sketches
|
|
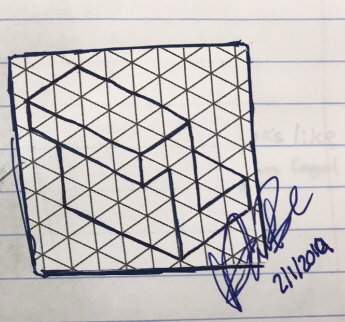
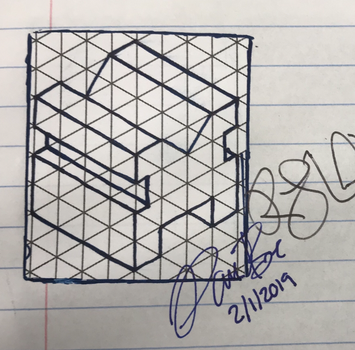
Here is two snapshots of widget drawings that we completed in class. These are also viewable in my engineering notebook.
Widget Number 3 |
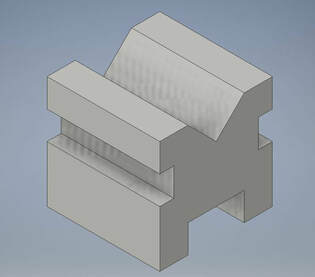
As part of my first project in Inventor, we were tasked to complete 3D drawings of all six widgets. I chose widget number three (Pictured below) to show you the step by step proscess of how it went from a drawing to a 3D model.
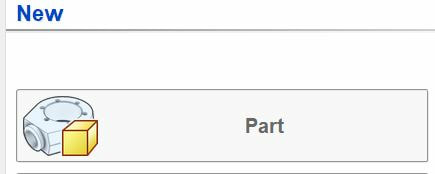
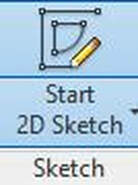
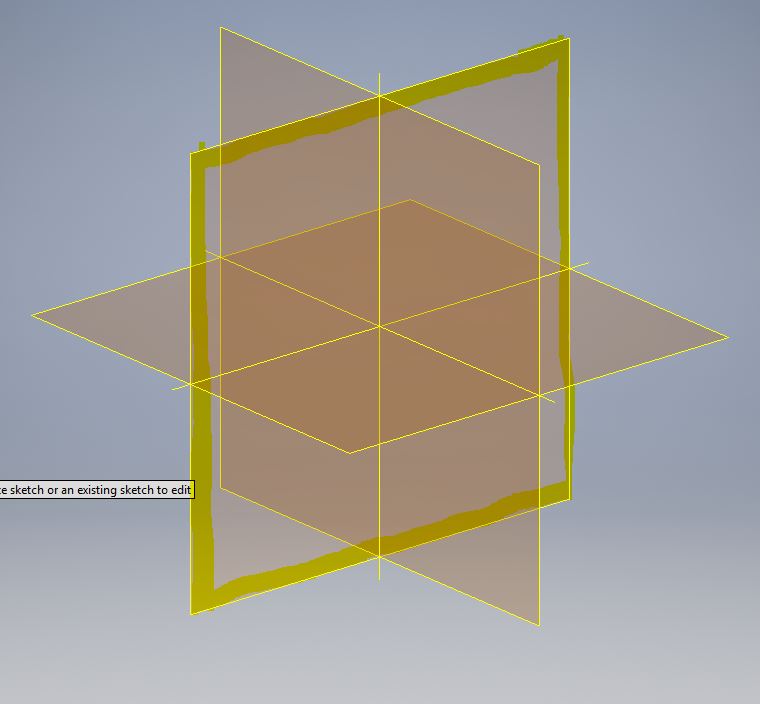
First, I opened Inventor and created a new part. Once I crated a new part, I clicked on the "Start 2-D Sketch" button, and clicked on the X/Y Plane ( Highlighted in Image Three) to begin drawing on.
|
|
|
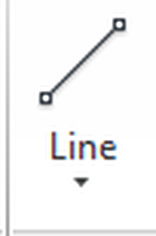
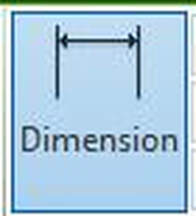
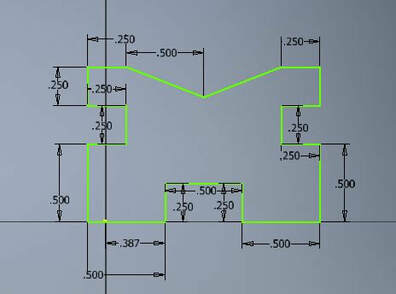
After I clicked on the X/Y plane, I clicked on the line tool to create the rough sketch of my product. Next, using the line tool, I created a sketch of widget 3 (Image two below). Then using the dimension tool, I dimensioned the lines of my sketch to make sure they were the correct length (In my image below, a few of the dimensions are off, but I later fixed them and didn't get a picture of it before the sketch was finished).
|
|
|
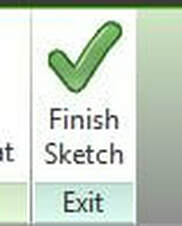
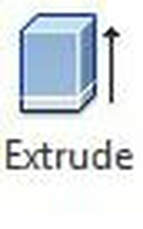
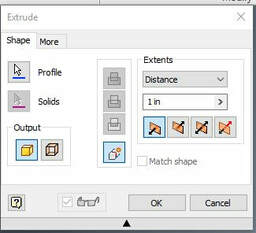
After the sketch was perfected, including correct dimensions, I clicked the finish sketch button. Next, I extruded it one inch backwards by using the extrude tool under the "3D Model" tab.
|
|

Violá! You now have a completed widget model in Inventor.
Above are the remaining five widgets we had to create models of in Inventor. They turned out pretty cool I think!!
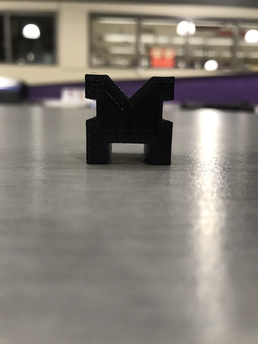
3D Printing Widget #3
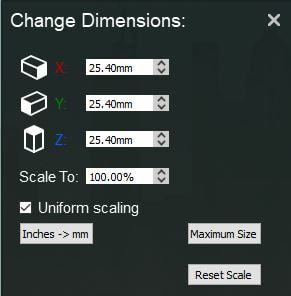
The first thing you are going to want to do is convert the file of your widget from an .ipt file from Inventor to a STL file compatable for the MakerBot software, which you will use for 3D printing. Now open the MakerBot app on your computer and click "Add File". Scroll until you find your file and open it. A message will come up asking if you want to resize it. Click "Do not rescale". Instead, go to the dimensions tab on the side and change your scaling to 1000% and press enter. This will change all of the dimensions to 25.40 mm.
|
|
|

|
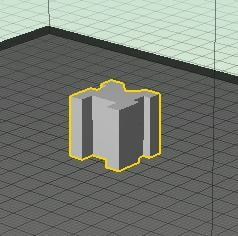
When you are printing your widget, it is very important to not leave anything "hanging off the side" because the widgets should not require the use of any supports. I had to rotate my widget so that it could print "on top of each other", or coninue to layer apon itself.
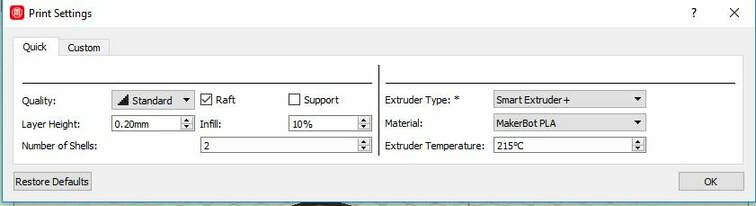
Once you have your print set up, click on print settings and the "Quick tap" Button. Set the quality to standard, check the raft box, change the extruder to "Extruder +", and set the temp to 215 °C. Click OK.
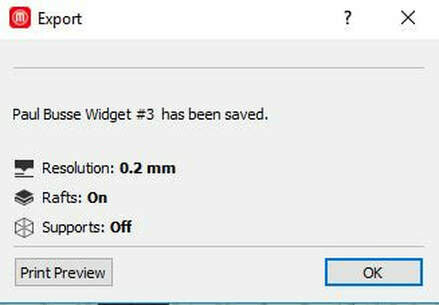
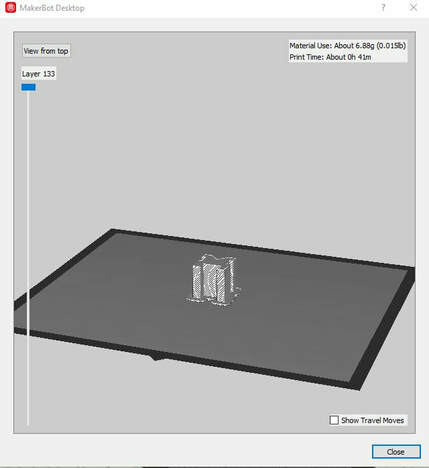
Now you must export your print to be able to print it in the innovation center. To do so, click the export button, and save it as you wish. An export box will pop up. Click "Print preview" and the screen pictured below will pop up. You can use the scroller bar on the left side of the window to show how it will print.
|
|
Save it to your flash drive and head to the innovation center!
Now that you are in the innopvation center, you can head to a 3D printer. Put your flash Drive into the flash drive port on the front of the printer. Using the nob, you can scroll to select your file. Now wait for the machine to heat, and stay with the printer until your print has printed the raft (Flat part on the bottom). My print took about 42 minutes to complete.
|
|

|
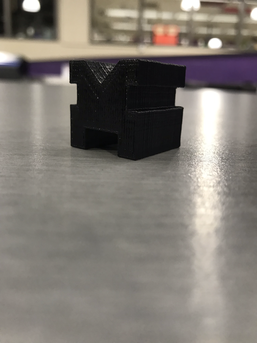
The Final Product
|
|
Summary
I had already learned bits and peices of information on the Inventor Software from my freshman year when I desgined a prototype for a cutting board in Intro. to Industrial Tech. class with Mr. Schumacher. In that class we also learned how to create rough sketches of different things, as wll as learn the basics of the design proscess. Currently as a sophomore, I am in Intro. to Engineering and Design (IED), where we are also learning about how to create sketches and continue to use Inventor. So far, my memory has been refreshed on the ins and outs of Inventor and how to create the different things.
A new thing that I learned was the basics of 3D printing. I learned how to setup and run the MakerBot Software, as well as the 3D printing units itself. I learned that it is very important to convert the filt to a STL file before transferring it over to MakerBot, otherwise it won't work. I learned this the hard way, but eventually was able to figure it out and create a 3D model of Widget #3. Additionaly I learned to rescale it to 1000% otherwise you will not be able to print it correctly, and with the correct dimensions.
Finally, I learned that 3D printing can be used for more than just printing plastic parts and peices, which I found facinating. During discussions in class, and from watching videos, I learned that it can be used to create things for the medical field such as replacement organs, make jewlery, as well as much more. Overall, I learned how Inventor and MakerBot work hand and hand to create some very very cool things, and I look forward to creating more projects with Inventor in the future!
